
Amazon SES and how to track Laravel Emails & Notifications
Janez Cergolj
Prologue
I've been working on a project where the requirement was to send emails via Amazon SES and track deliverability status with webhooks. Not surprisingly, at least for me, the ride wasn't a smooth one. You see, I have a love & hate relationship with AWS. Thanks to Krishankant Singhal's articles on Amazon SES and Laravel Implementation I managed to get through, however, there were some pieces of the puzzle that I would like to cover and help you avoid spending hours searching for those missing pieces.
Sending notifications with Laravel
Let's start with Laravel's code.
Setting up SES driver in Laravel
Is straight forward. See (Laravel Docs)[https://laravel.com/docs/8.x/mail#ses-driver]
Make sure all those env variables are set. We will use AWS_SES_CONFIGURATION_SET_NAME later when we are setting up the configuration set. You can name it however you want.
// .env

MAIL_MAILER=ses
MAIL_FROM_ADDRESS=
MAIL_FROM_NAME=


AWS_ACCESS_KEY_ID=
AWS_SECRET_ACCESS_KEY=
AWS_DEFAULT_REGION=
AWS_BUCKET=
AWS_SES_CONFIGURATION_SET_NAME=bounces
Creating Notification
Make sure to add withSwiftMessage when building email; otherwise, things won't work. You can thank me later :). I lost hours here.
Without x-ses-configuration-set webhook won't be triggered. unique-id header is used to keep tracking emails.
->withSwiftMessage(function ($message) use ($uuid) {
    $message->getHeaders()->addTextHeader('x-ses-configuration-set', config('services.ses.configuration_set'));
    $message->getHeaders()->addTextHeader('unique-id', $uuid);
})
<?php
// app/notifications/WelcomeNotification.php

namespace App\Notifications;

use Illuminate\Bus\Queueable;
use Illuminate\Support\Facades\Log;
use Illuminate\Support\Facades\URL;
use Illuminate\Notifications\Notification;
use Illuminate\Notifications\Messages\MailMessage;

class WelcomeNotification extends Notification
{
    use Queueable;

    public $uniqueId;

    public function __construct($validationRequest, $socialWorkerFirstName, $socialWorkerSurname)
    {
        $this->uniqueId = 'some random id';
    }

    /**
     * Get the notification's delivery channels.
     *
     * @param mixed $notifiable
     *
     * @return array
     */
    public function via($notifiable)
    {
        return ['mail'];
    }

    /**
     * Get the mail representation of the notification.
     *
     * @param mixed $notifiable
     *
     * @return \Illuminate\Notifications\Messages\MailMessage
     */
    public function toMail($notifiable)
    {
        $uniqueId = $this->uniqueId;

        return (new MailMessage())
            ->withSwiftMessage(function ($message) use ($uniqueId) {
                $message->getHeaders()->addTextHeader('x-ses-configuration-set', config('services.ses.configuration_set'));
                $message->getHeaders()->addTextHeader('unique-id', $uniqueId);
            })
            ->subject("Welcome")
            ->greeting("Welcome")
            ->line("Welcome")
            ->action("Login", url('/'));
    }
}
Sending notification
I won't spend too much time here. See (Laravel Docs)[https://laravel.com/docs/8.x/notifications#sending-notifications] how to do it.
Create NotificationLog migration & model
// database/migrations/2019_03_13_163943_create_notification_logs_table.php
<?php

use Illuminate\Support\Facades\Schema;
use Illuminate\Database\Schema\Blueprint;
use Illuminate\Database\Migrations\Migration;

class CreateNotificationLogsTable extends Migration
{
    /**
     * Run the migrations.
     *
     * @return void
     */
    public function up()
    {
        Schema::create('notification_logs', function (Blueprint $table) {
            $table->bigIncrements('id');
            $table->text('status')->nullable();
            $table->string('message_id');
            $table->timestamps();
        });
    }
}
// app/NotificationLog.php
<?php

namespace App;

use Illuminate\Database\Eloquent\Model;

class NotificationLog extends Model
{
    protected $guarded = [];
}
Create Notification Listener
See (Laravel Docs)[https://laravel.com/docs/8.x/notifications#notification-events] how to do it. We will utilize NotificationSent event to save notification in the DB.
// app/Providers/EventServiceProvider.php

/**
 * The event listener mappings for the application.
 *
 * @var array
 */
protected $listen = [
    'Illuminate\Notifications\Events\NotificationSent' => [
        'App\Listeners\LogNotification',
    ],
];
// app/Listeners/LogNotification.php

<?php

namespace App\Listeners;

use Illuminate\Notifications\Events\NotificationSent;
use App\NotificationLog;

class LogNotification
{
    /**
     * Handle the event.
     *
     * @return void
     */
    public function handle(NotificationSent $event)
    {
        $notification = $event->notification->uniqueId;

        NotificationLog::create([
            'message_id' => $event->notification->uniqueId,
            'status' = null
        ]);
    }
}
Creating webhook endpoint
Last but not least, we need an endpoint that Amazon can post to email delivery status updates.
Install aws packages
composer require aws/aws-php-sns-message-validator
composer require aws/AWS-SDK-PHP
Create controller
// app/Http/Controllers/SnSController.php

<?php

namespace App\Http\Controllers;

use Aws\Sns\Message;
use Aws\Sns\MessageValidator;
use Illuminate\Http\Response;
use App\Models\NotificationLog;
use App\Http\Controllers\Controller;
use Aws\Sns\Exception\InvalidSnsMessageException;

class SnsController extends Controller
{
    public function store()
    {
        // Only needed first time to get the subscription url to confirm the webhook
        // Log::info(file_get_contents('php://input'));

        $message = Message::fromRawPostData();

        $validator = new MessageValidator();

        try {
            $validator->validate($message);
        } catch (InvalidSnsMessageException $e) {
            Log::error('SNS Message Validation Error: '.$e->getMessage());
        }

        $messageBody = json_decode($message->offsetGet('Message'), true);

        $uniqueId = $this->getUniqueIdFromHeader($messageBody);
        $notificationLog = NotificationLog::where('message_id', $uniqueId)->first();

        if ($notificationLog === null) {
            return response()->json([], Response::HTTP_OK);
        }

        $notificationLog->update([
            'status' => $messageBody['eventType'],
        ]);

        return response()->json([], Response::HTTP_OK);
    }

    private function getUniqueIdFromHeader($messageBody)
    {
        return collect($messageBody['mail']['headers'])->filter(function ($header) {
            return $header['name'] === 'unique-id';
        })->map(function ($header) {
            return $header['value'];
        })->first();
    }
}
Create Route
// routes/web.php

Route::post('/webhooks/sns', [App\Http\Controllers\SnsController::class, 'store']);
Phew, we are done with Laravel.
AWS battle
Create SES
Sorry, I can't help you here. In my case, SES was already in place. However, I've done the heavy lifting for you and googled this article (Sending email in Laravel using SMTP and Amazon SES)[https://mattkomarnicki.com/articles/php-sending-e-mail-in-laravel-using-smtp-and-amazon-ses] for you.
Create SNS Topic
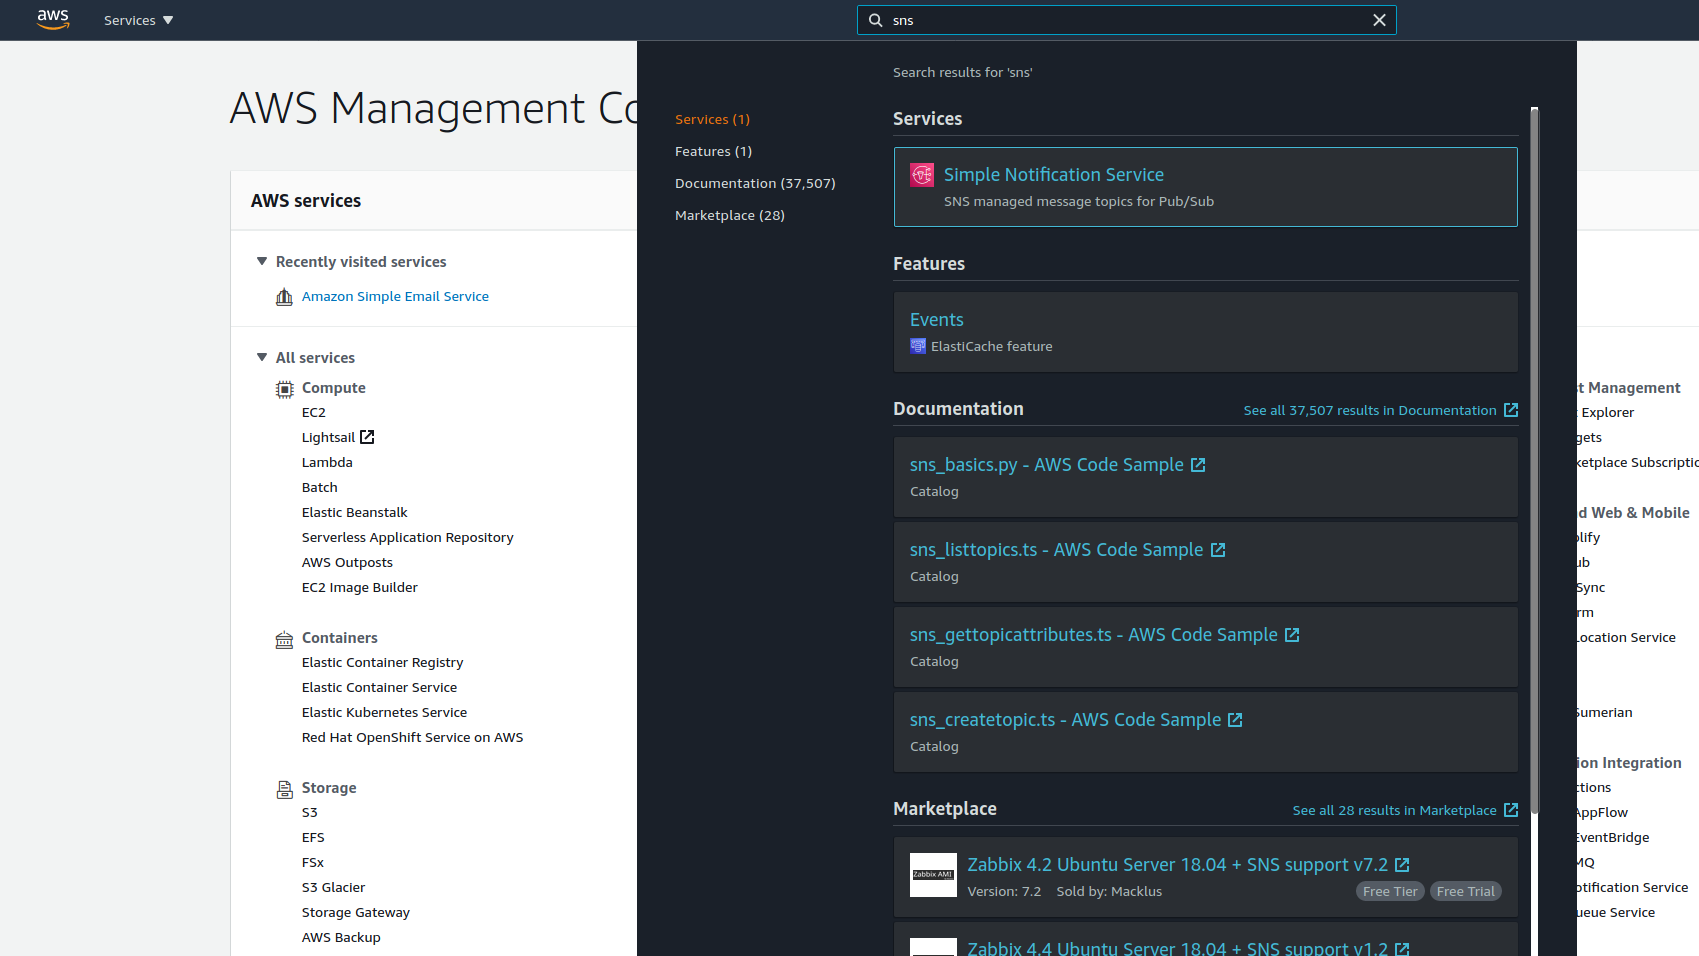 Login to AWS console and type
 sns in the search bar and select Simple Notification Service.
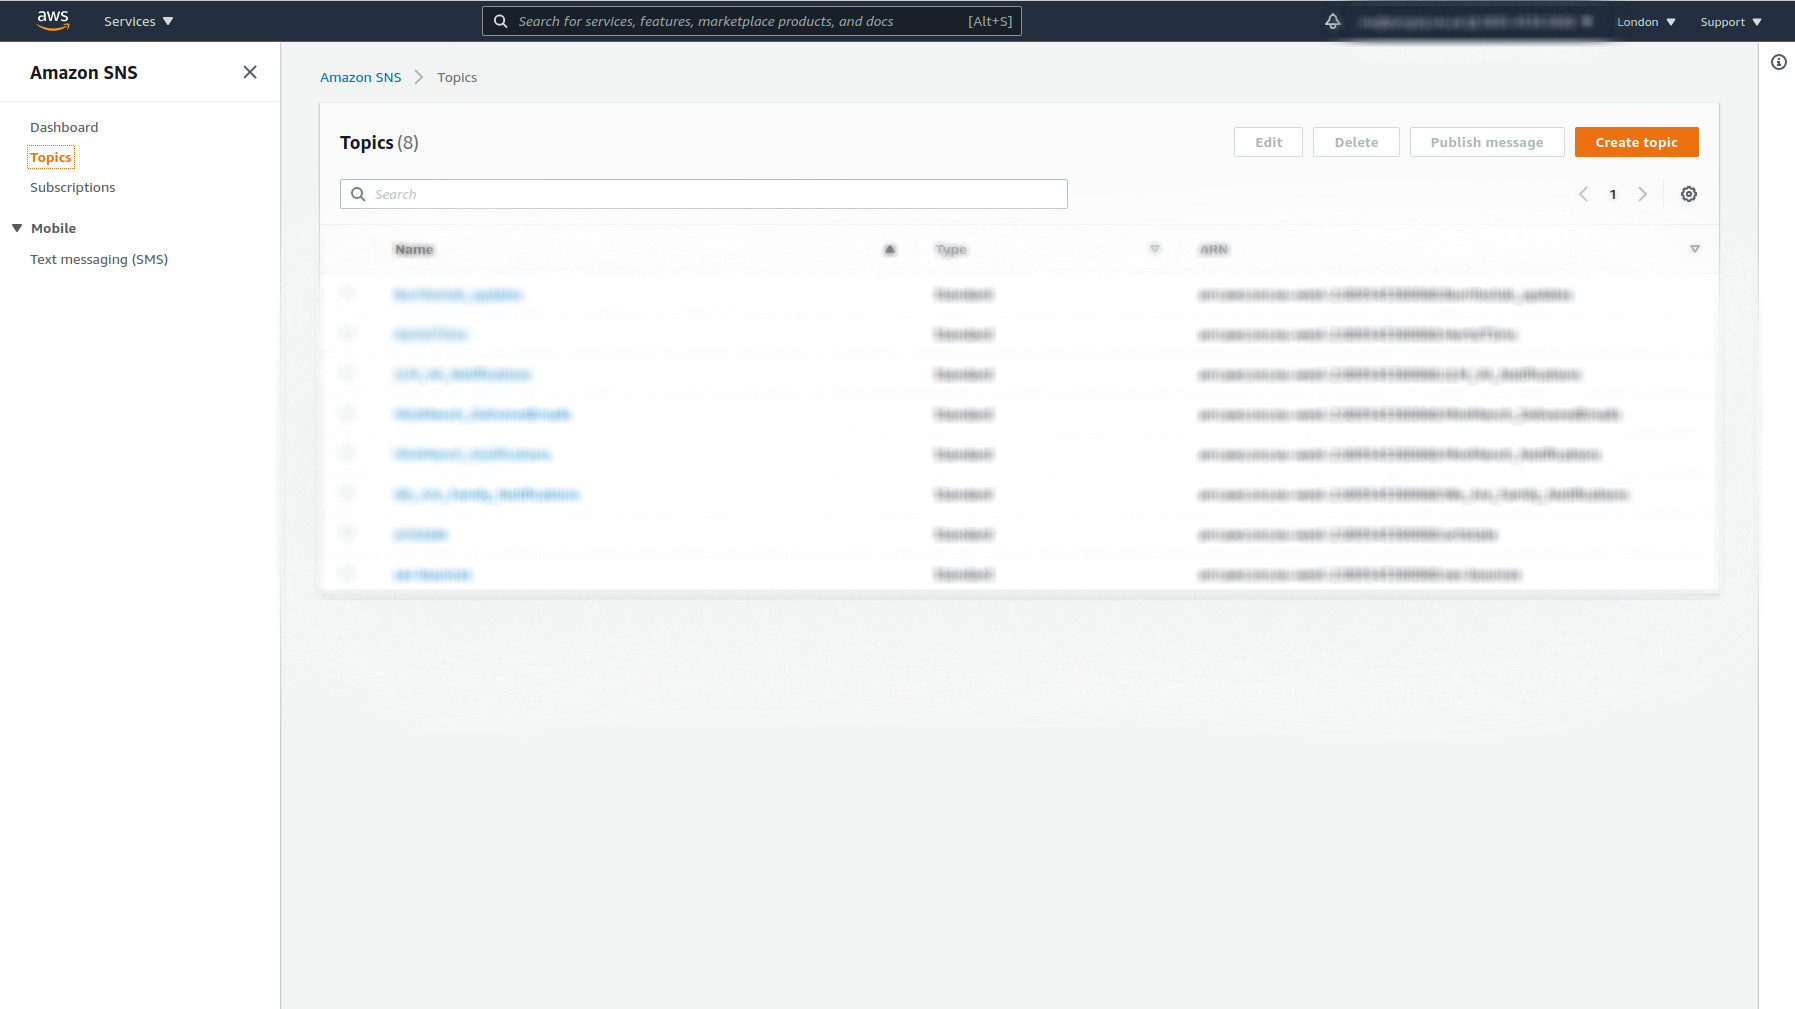 In the navigation click on
 Topics and then on the right side click on the button Create Topic.
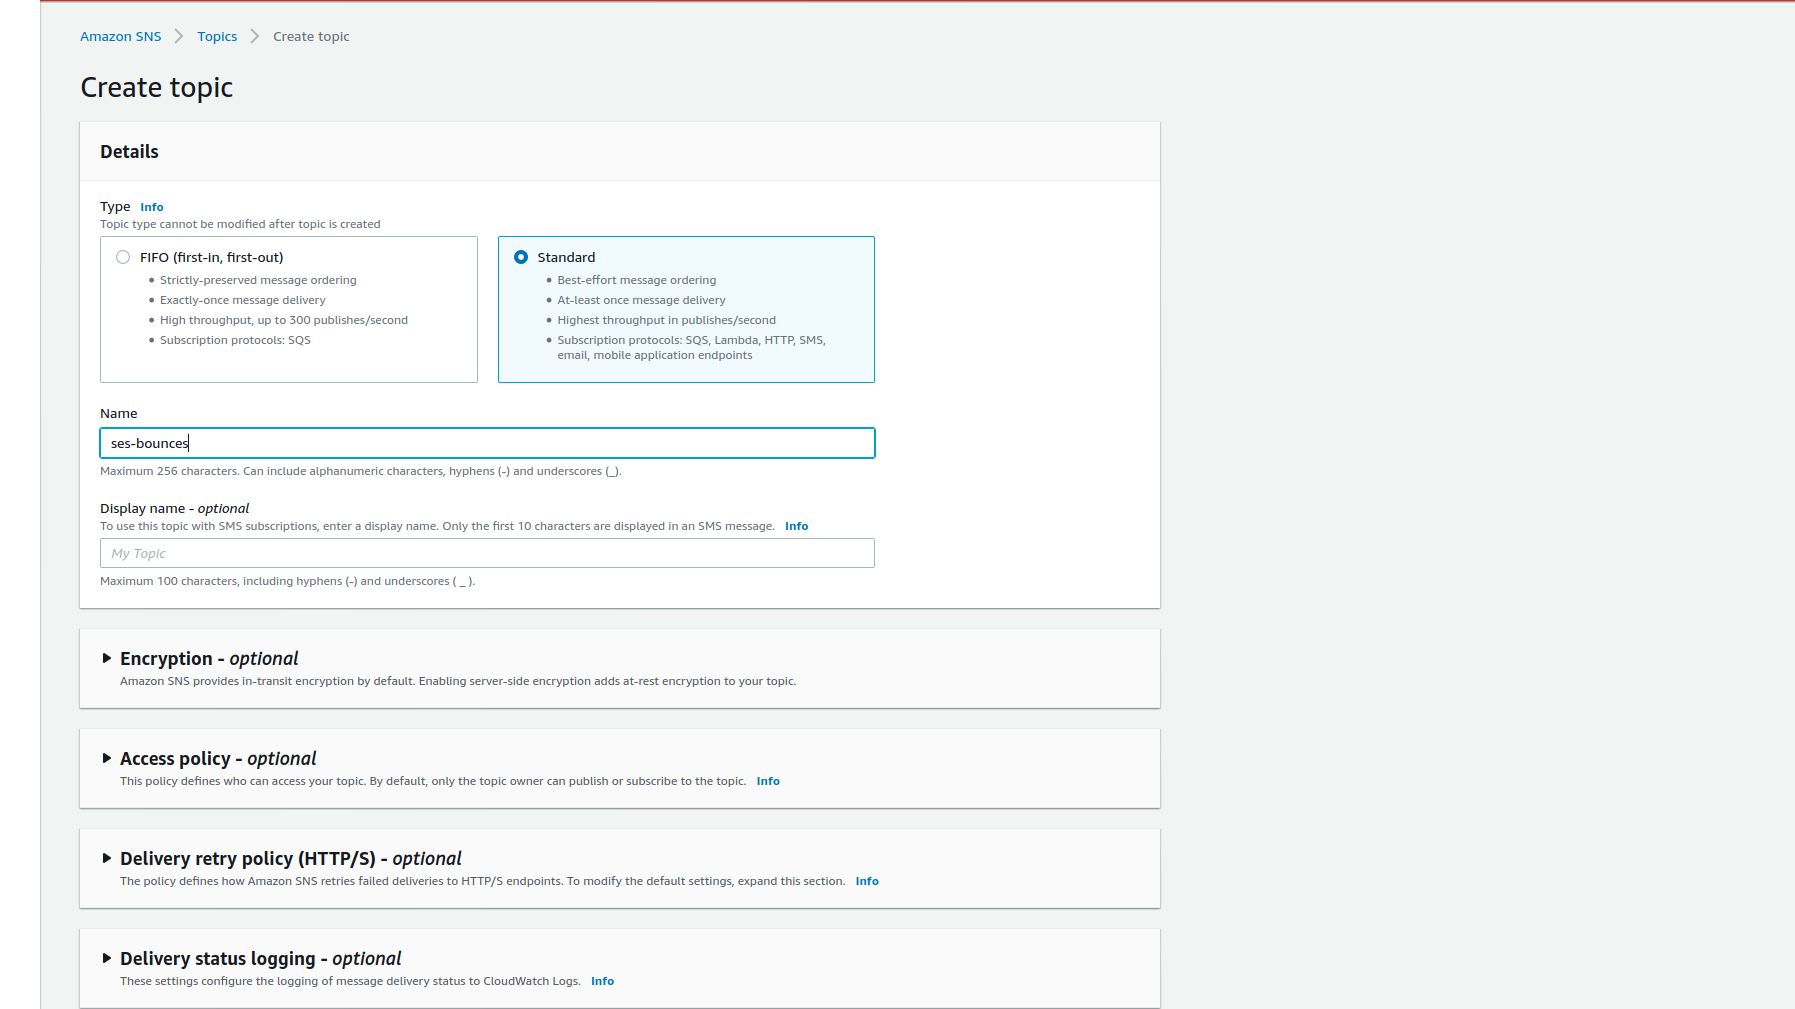 Select
 Standard type and give it a name. Save it.
Create SNS Topic's Subscription
Remember to uncomment Log::info(file_get_contents('php://input')) in SnsController before creating new topic's subscription
    // Only needed first time to get the subscription url to confirm the webhook
    // Log::info(file_get_contents('php://input'));
from SnsController. You should uncomment this before subscription is created.
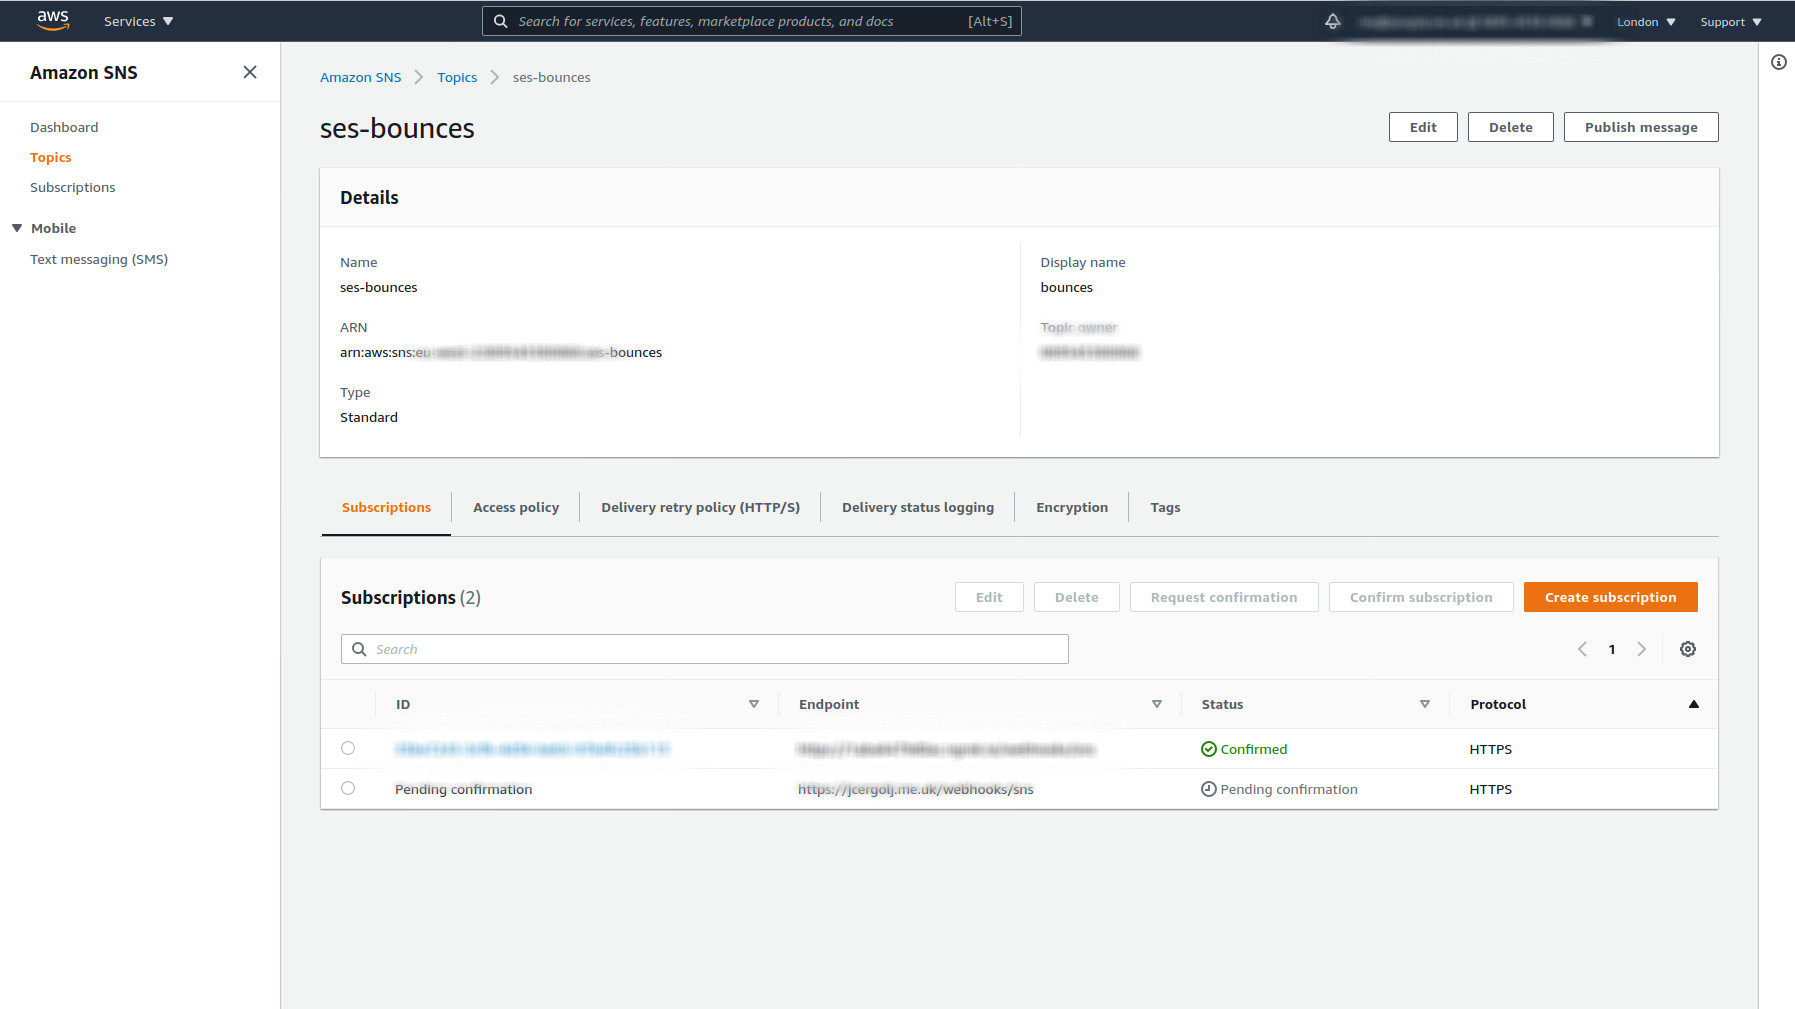 On newly created topic's page click on the button
 Create Subscription.
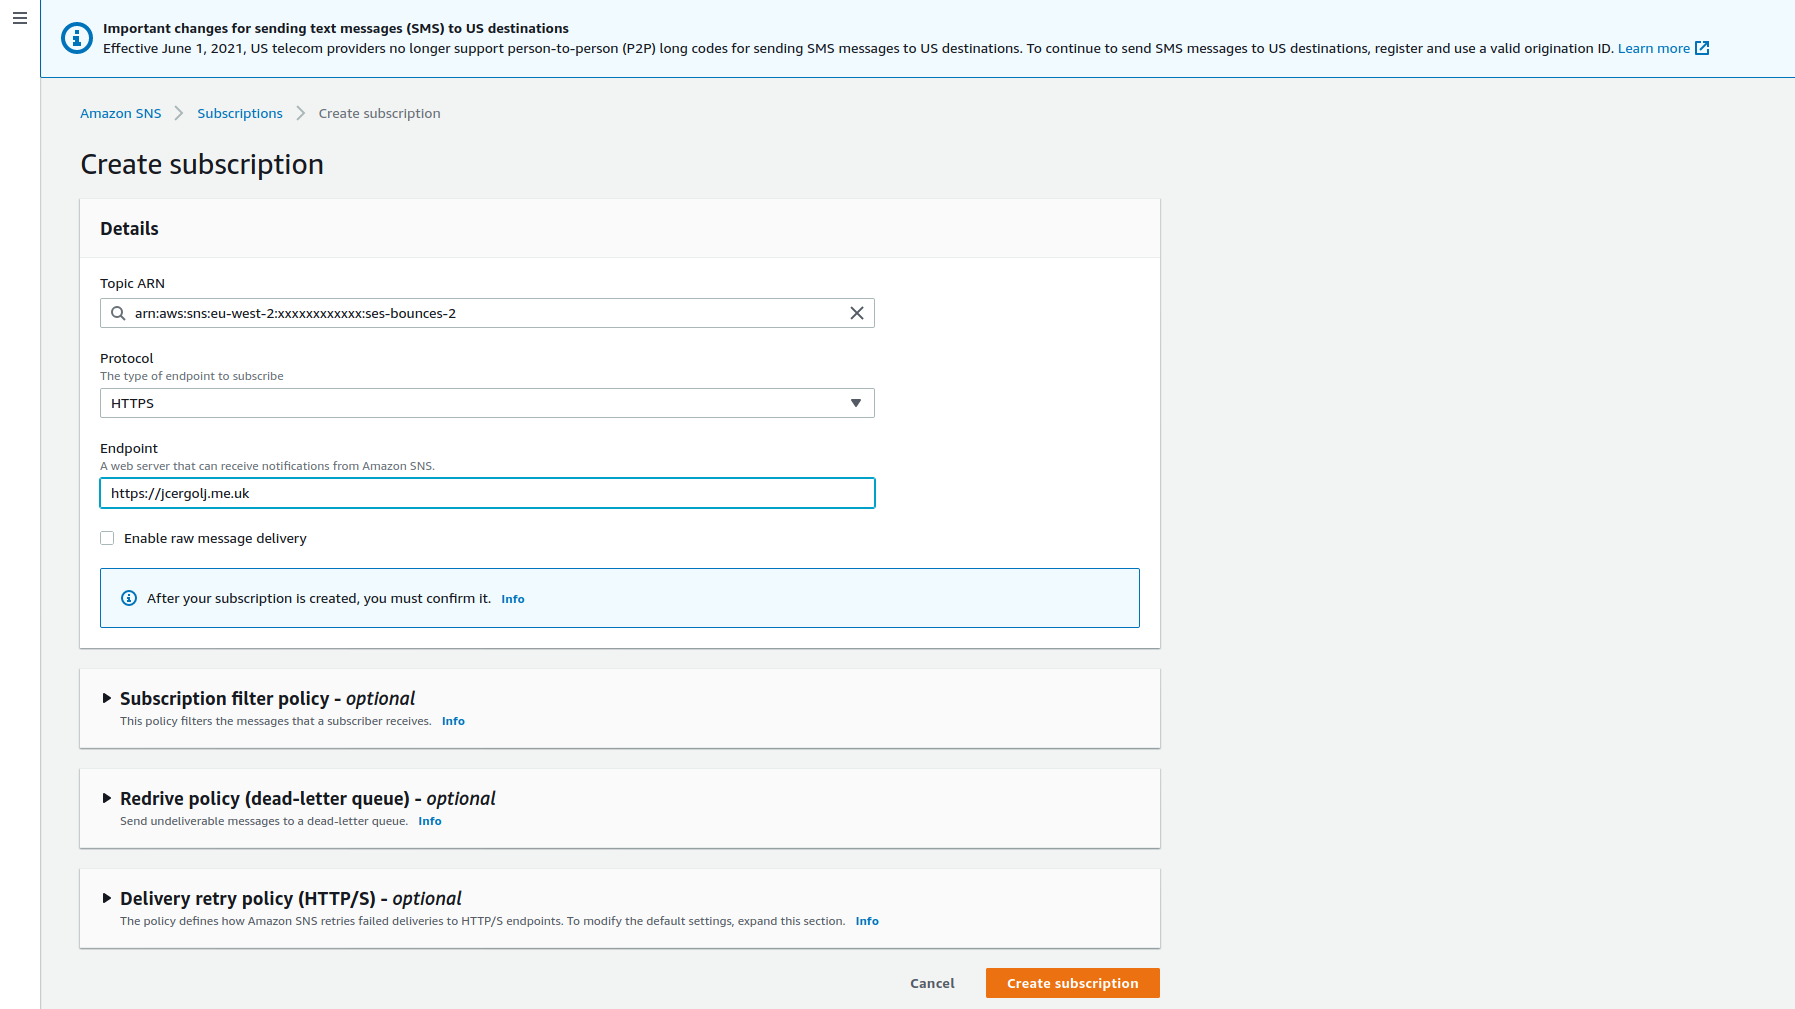 Create new subscription. Topic ARN must match the previously created one. Select
 https protocol and define endpoint. Save.
Select created subscription and click on Confirm Subscription.
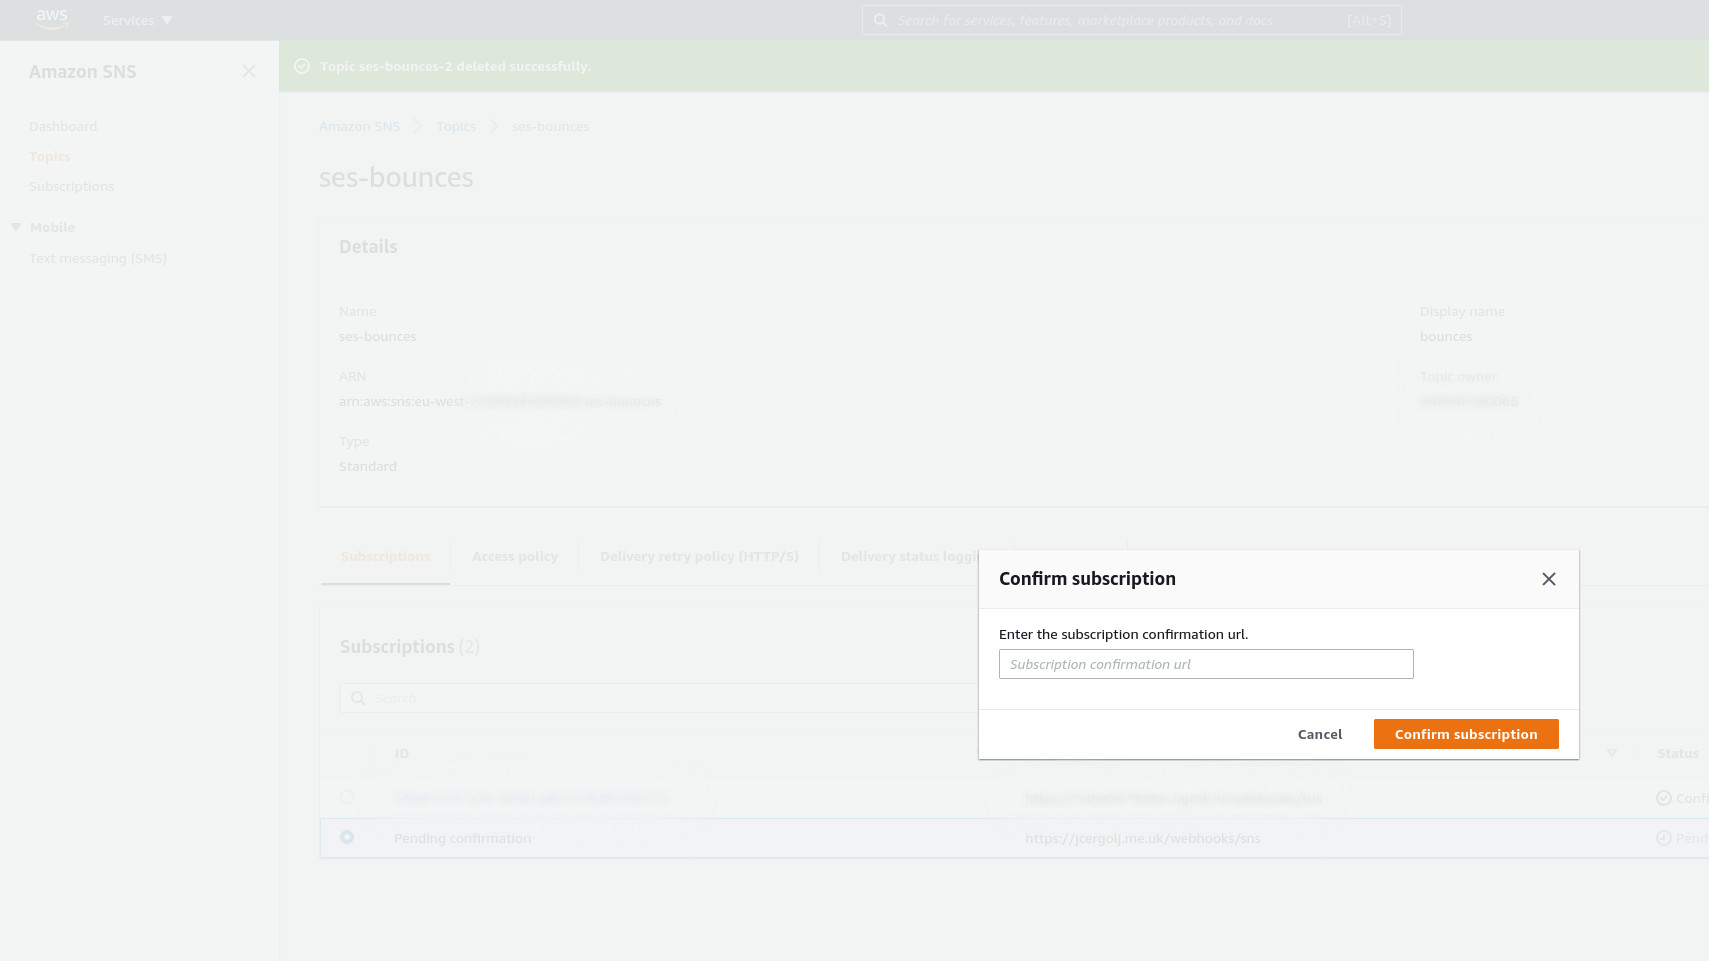 Locate subscription url in the log file and paste it here.
Create SES Configuration Set
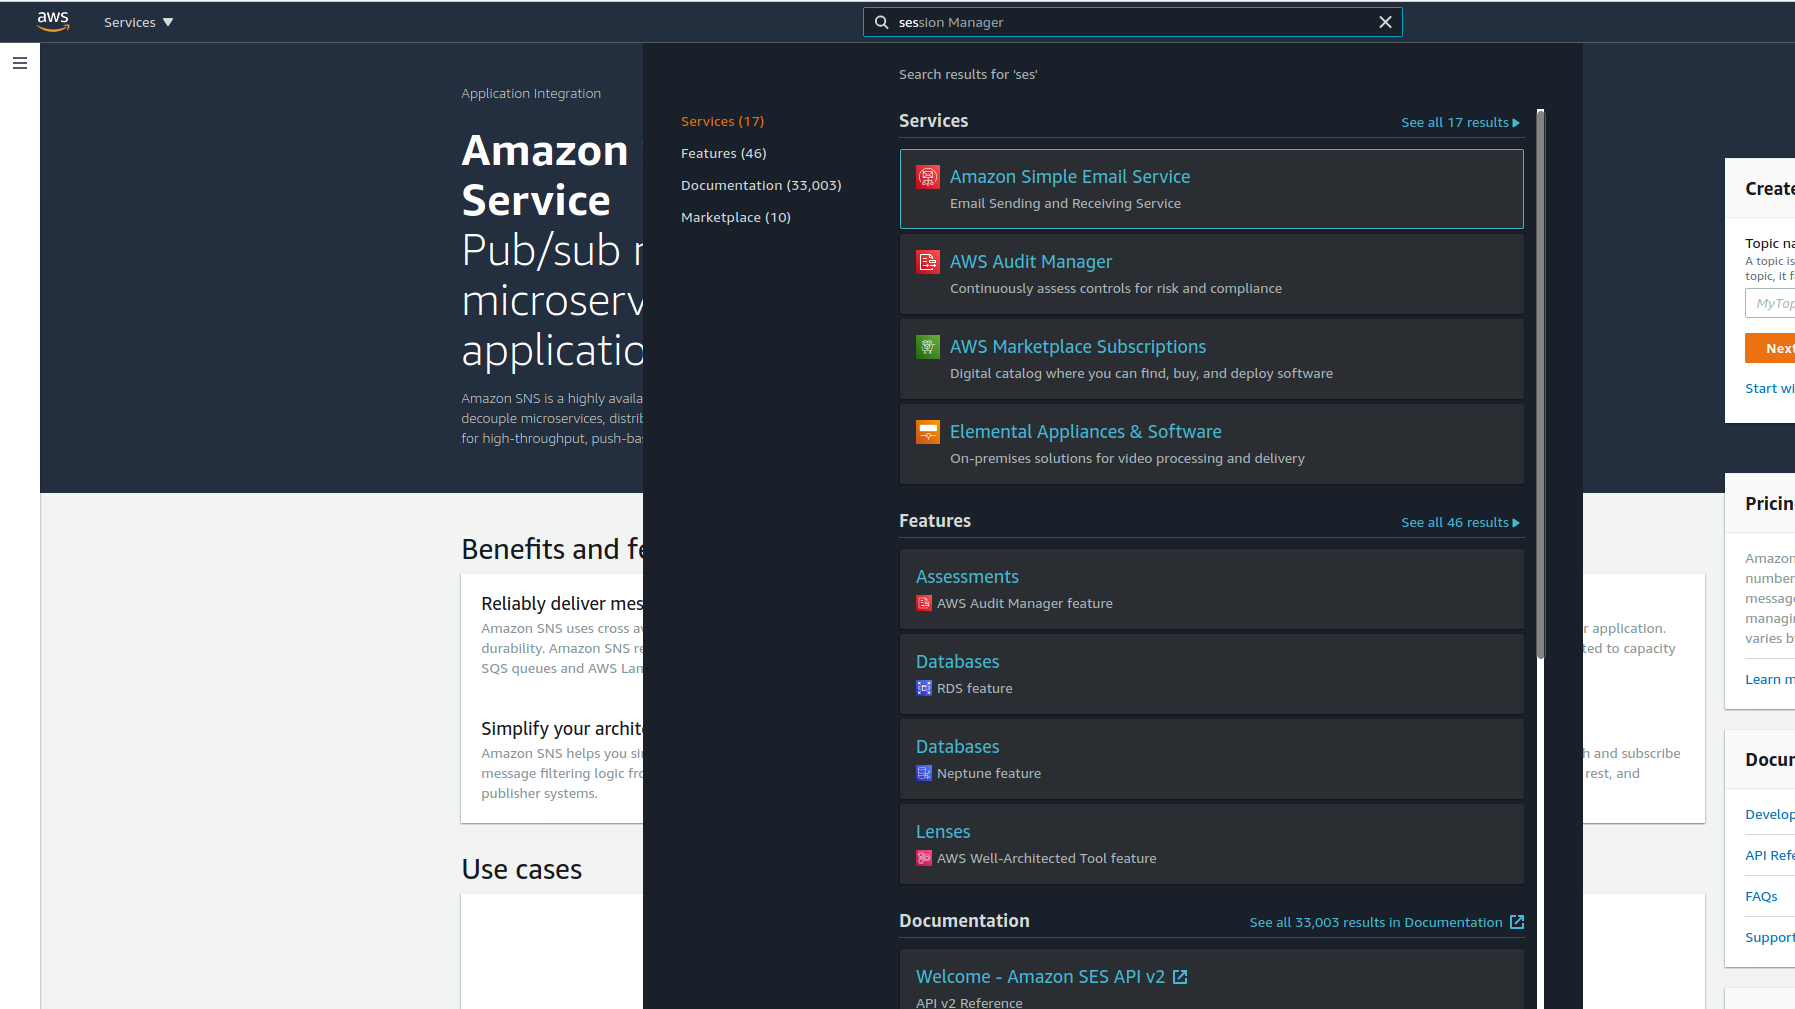 Type
Type ses in the search bar and select Amazon Simple Email Service.
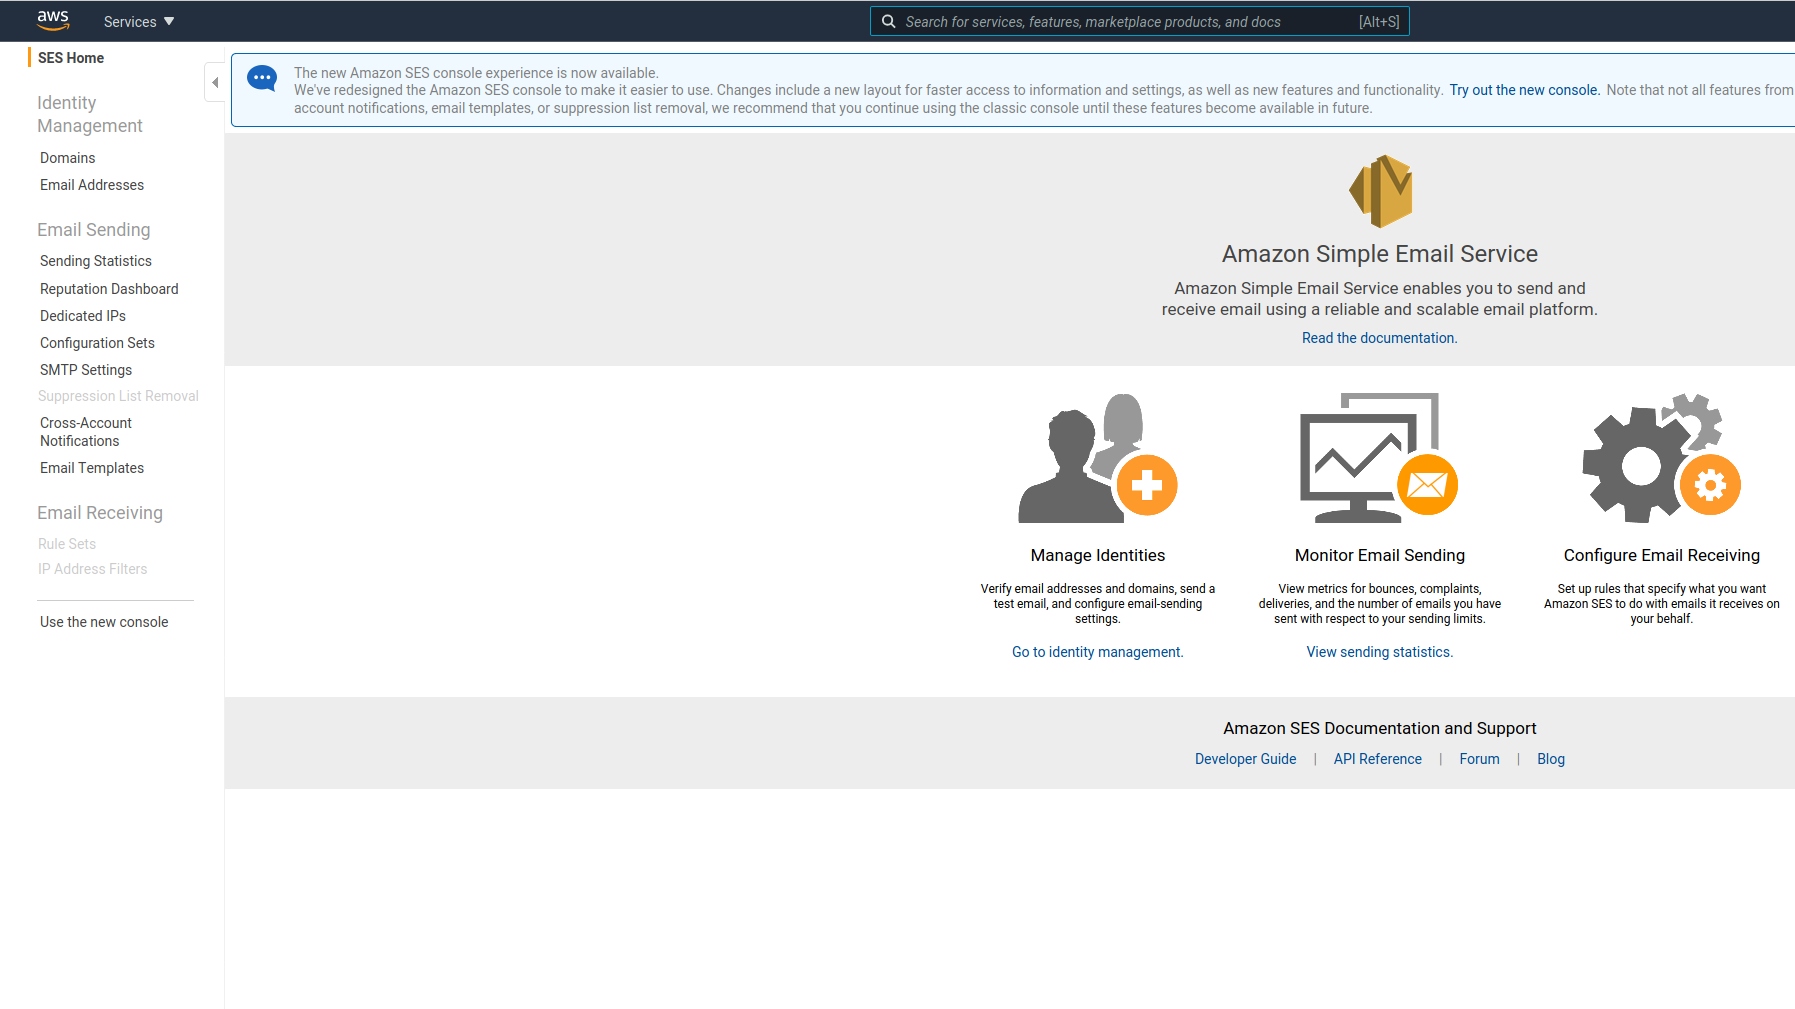
 In the left nav click on 'Configuration Sets.
 In the left nav click on 'Configuration Sets.
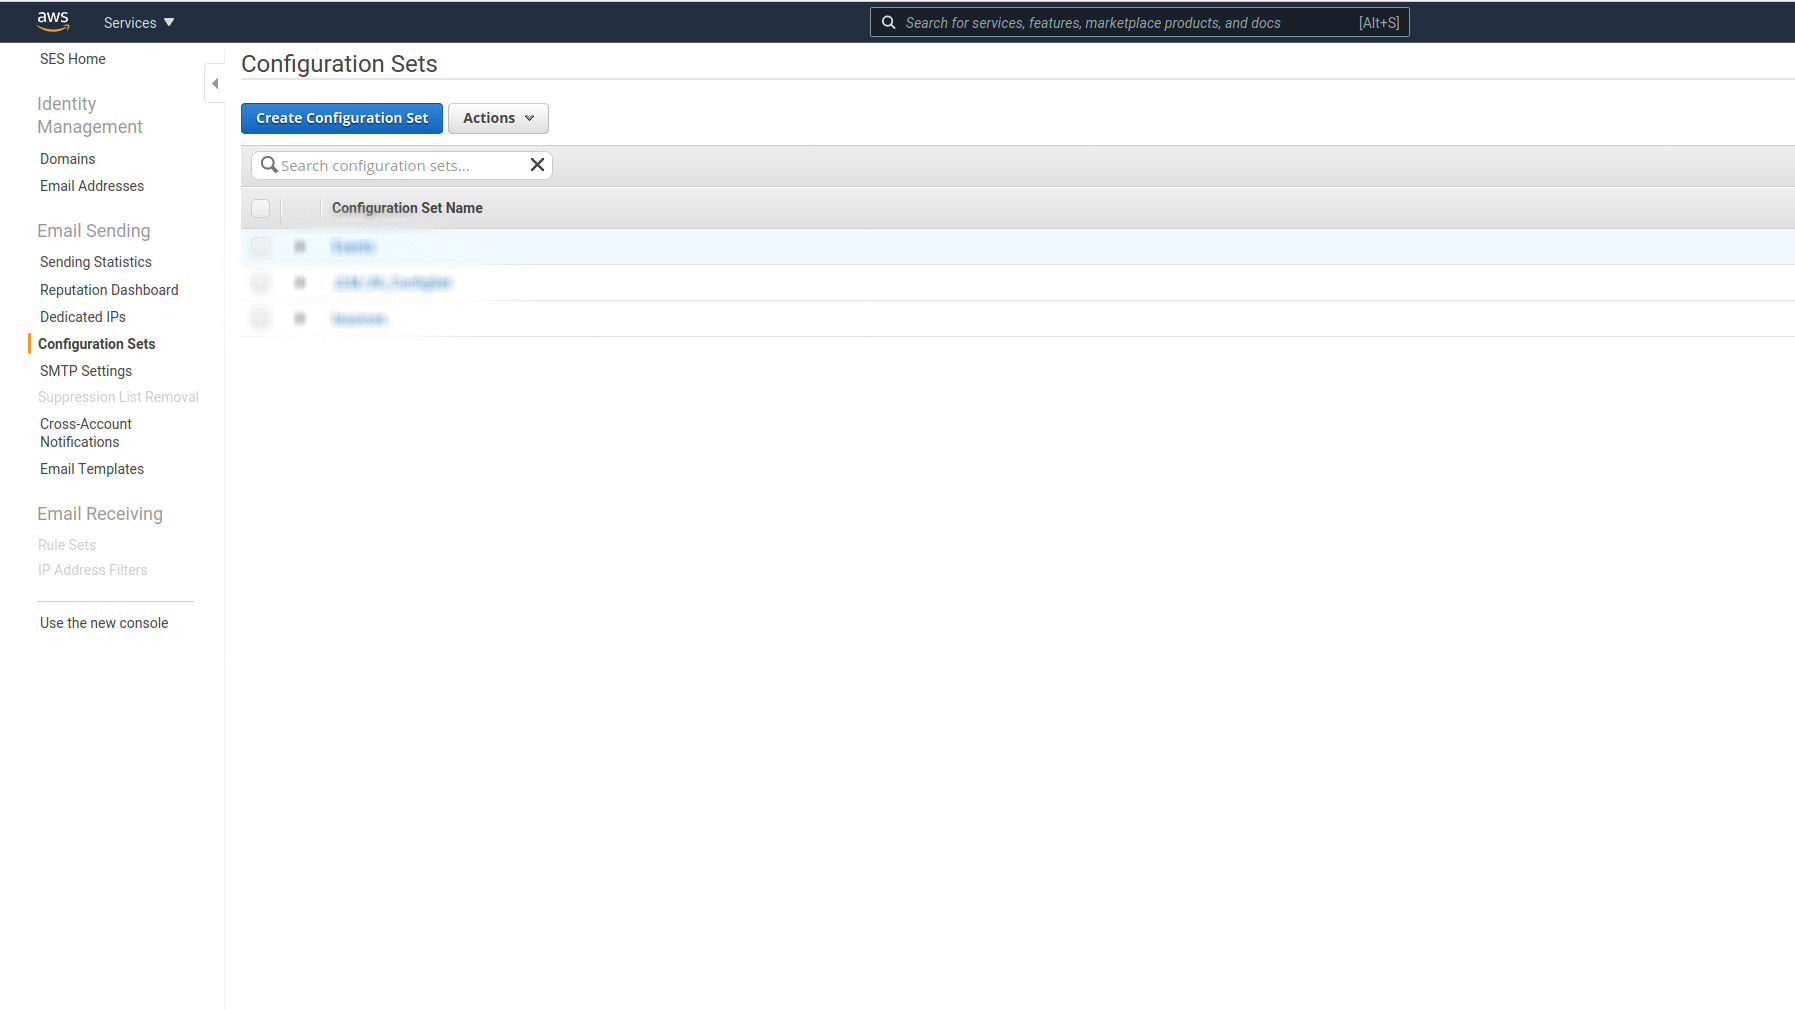 Click on the button
 Create New Configuration Set.
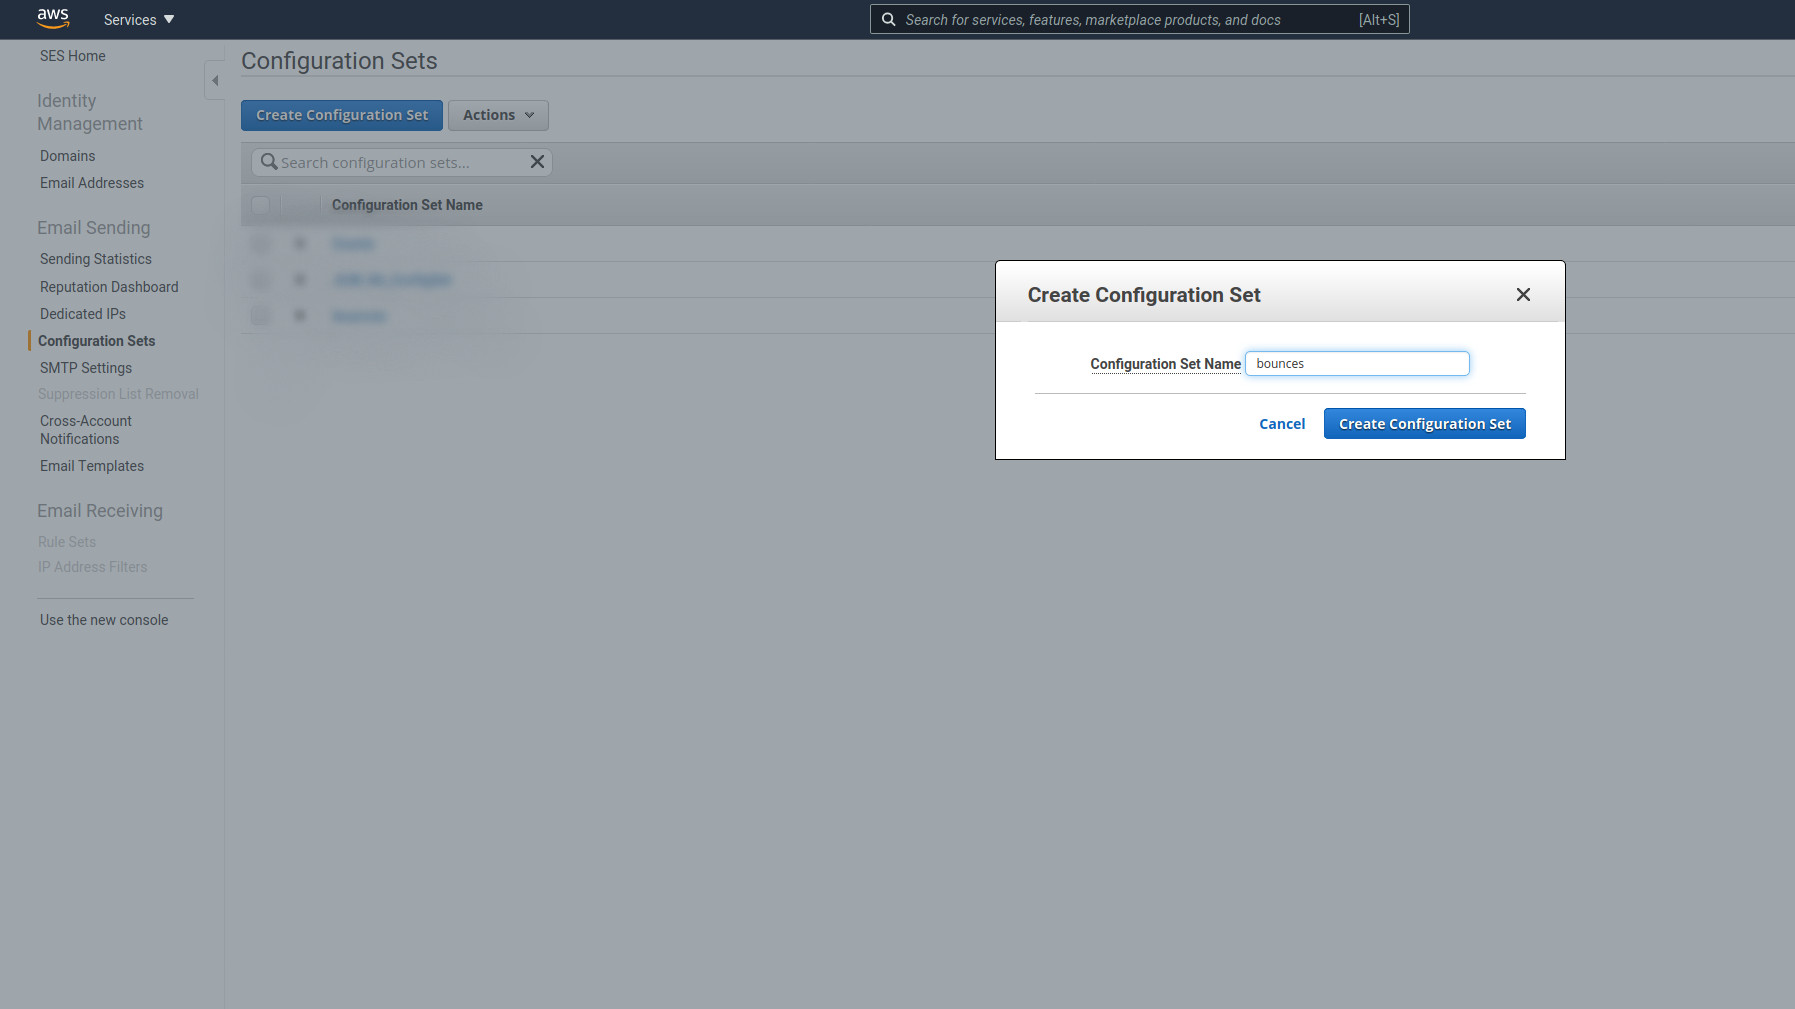 Give it a name. Must be the same as .env
 AWS_SES_CONFIGURATION_SET_NAME=bounces variable.
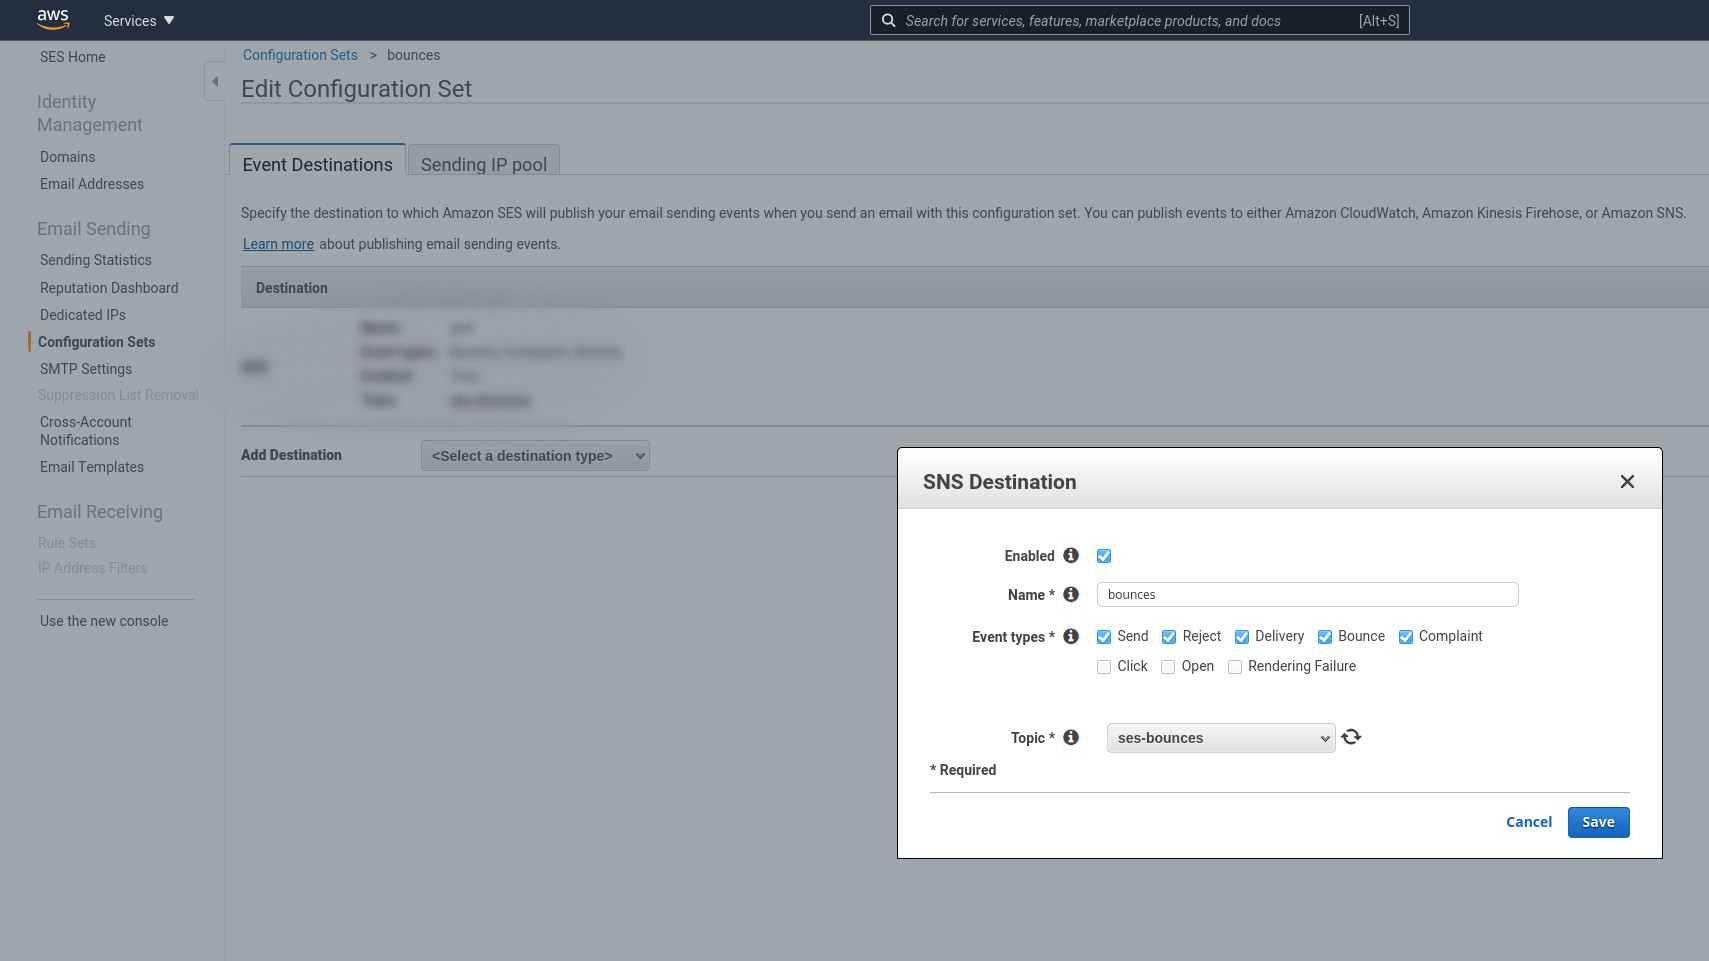 Fill the form with name, sns topic and event types.
And you are done.
Hopefully, this somehow lengthy tutorial makes sense, and that helped you save hours of your precious time. I wasn't so lucky.